Posted on 3 Comments

A Beginner’s Guide to Crocheting: How to Make a Slip Knot

Crocheting for Beginner's, How to Make a Slip Knot

Did you start crocheting recently? Have you come across a slip knot in a crochet pattern? If so, you might be wondering how to make a slip knot. In this beginner’s crochet tutorial with easy-to-follow pictures, you’ll learn everything you need to start your project.  

If you’re someone who needs a visual, there’s also a video to follow along with as well!

A slip knot is a fundamental element when starting any crochet project and it’s very easy to master for beginners.

What is a Slip Knot?

A slip knot is used to create the first chain of your project. 

When my mom taught me to crochet almost 20 years ago, she did not teach me the slip knot. I would just tie a loop and cast it on the hook.  Needless to say, this left my early projects looking pretty uneven. 

You live and learn, right?

Why use a Slip Knot in Your Crochet Projects?

Slip knots make it easy to adjust the knot to the hook.  You call pull and tighten without the worry of the knot tightening completely. This helps keep your starting chains even. 

A slip knot also sets a good rhythm for your crochet project. The first building block that will lead to a great finished piece!

A Beginner’s Guide to Crocheting: How to Make a Slip Knot:

This post contains affiliate links. If you use these links to buy something I may earn a commission. Thanks!

Supplies:

Crochet Hook

Yarn 

Notes: 

For this tutorial, I used an I9 crochet hook and medium worsted acrylic yarn.  When you are a beginner crocheter, it’s easier to work with yarn that is cheaper and a little thicker. It’s more forgiving.

If you don’t have a crochet kit, this is the one I use.  It has many hooks in various sizes and comes with a cute pouch. I love it because it has everything I need ready to go and keeps me organized. 

Instructions:

Leave 6-8 inches of yarn tail and make a loop around your finger with the yarn. 

How to Make a slip knot pretzel method

Take your yarn tail and throw it across the loop on your finger.

how to make a crochet slip knot for beginners

From behind, bring the yarn tail to the right side. You will form a pretzel. 

Insert crochet hook through the yarn in the middle of the pretzel and pull up. 

Tighten as needed. 

Congratulations! You’ve completed a crochet slip knot.  

I hope you found this beginner’s guide to crocheting helpful. Now that you know how to make a slip knot,  you’re on your way to making all the crochet pieces!
Posted on 2 Comments

How to Make Reusable Crochet Face Scrubbies in 10 Minutes

How to Make Reusable Crochet Face Scrubbies in 10 minutes (Beginner Friendly Crochet Pattern)

Reusable face scrubbies are a big trend these days. It makes sense to ditch disposable face wipes and cotton rounds that plug up our landfills and switch to the more economical eco-friendly makeup remover. Just look on Etsy, and you’ll see tons of options for homemade scrubbies. They’re much cheaper, last longer, and are easy to maintain with laundry or handwash. 

Over the past couple of years, I started to ditch commercial one-use products for more economical reusable ones. They’re better for the environment and your body. Recently, my obsession is face scrubbies. I love these things and have made loads of them. They exfoliate my skin so well and leaves it super soft. I noticed with patterns I came across that the scrubby tends to get too “holey” when it’s dampened in water. This makes it a little hard to wash your face when the stitches don’t hold up against face wash and water. Due to this, I experimented with making a pattern with two yarn strands and was pleasantly surprised by how sturdy and still soft they were!

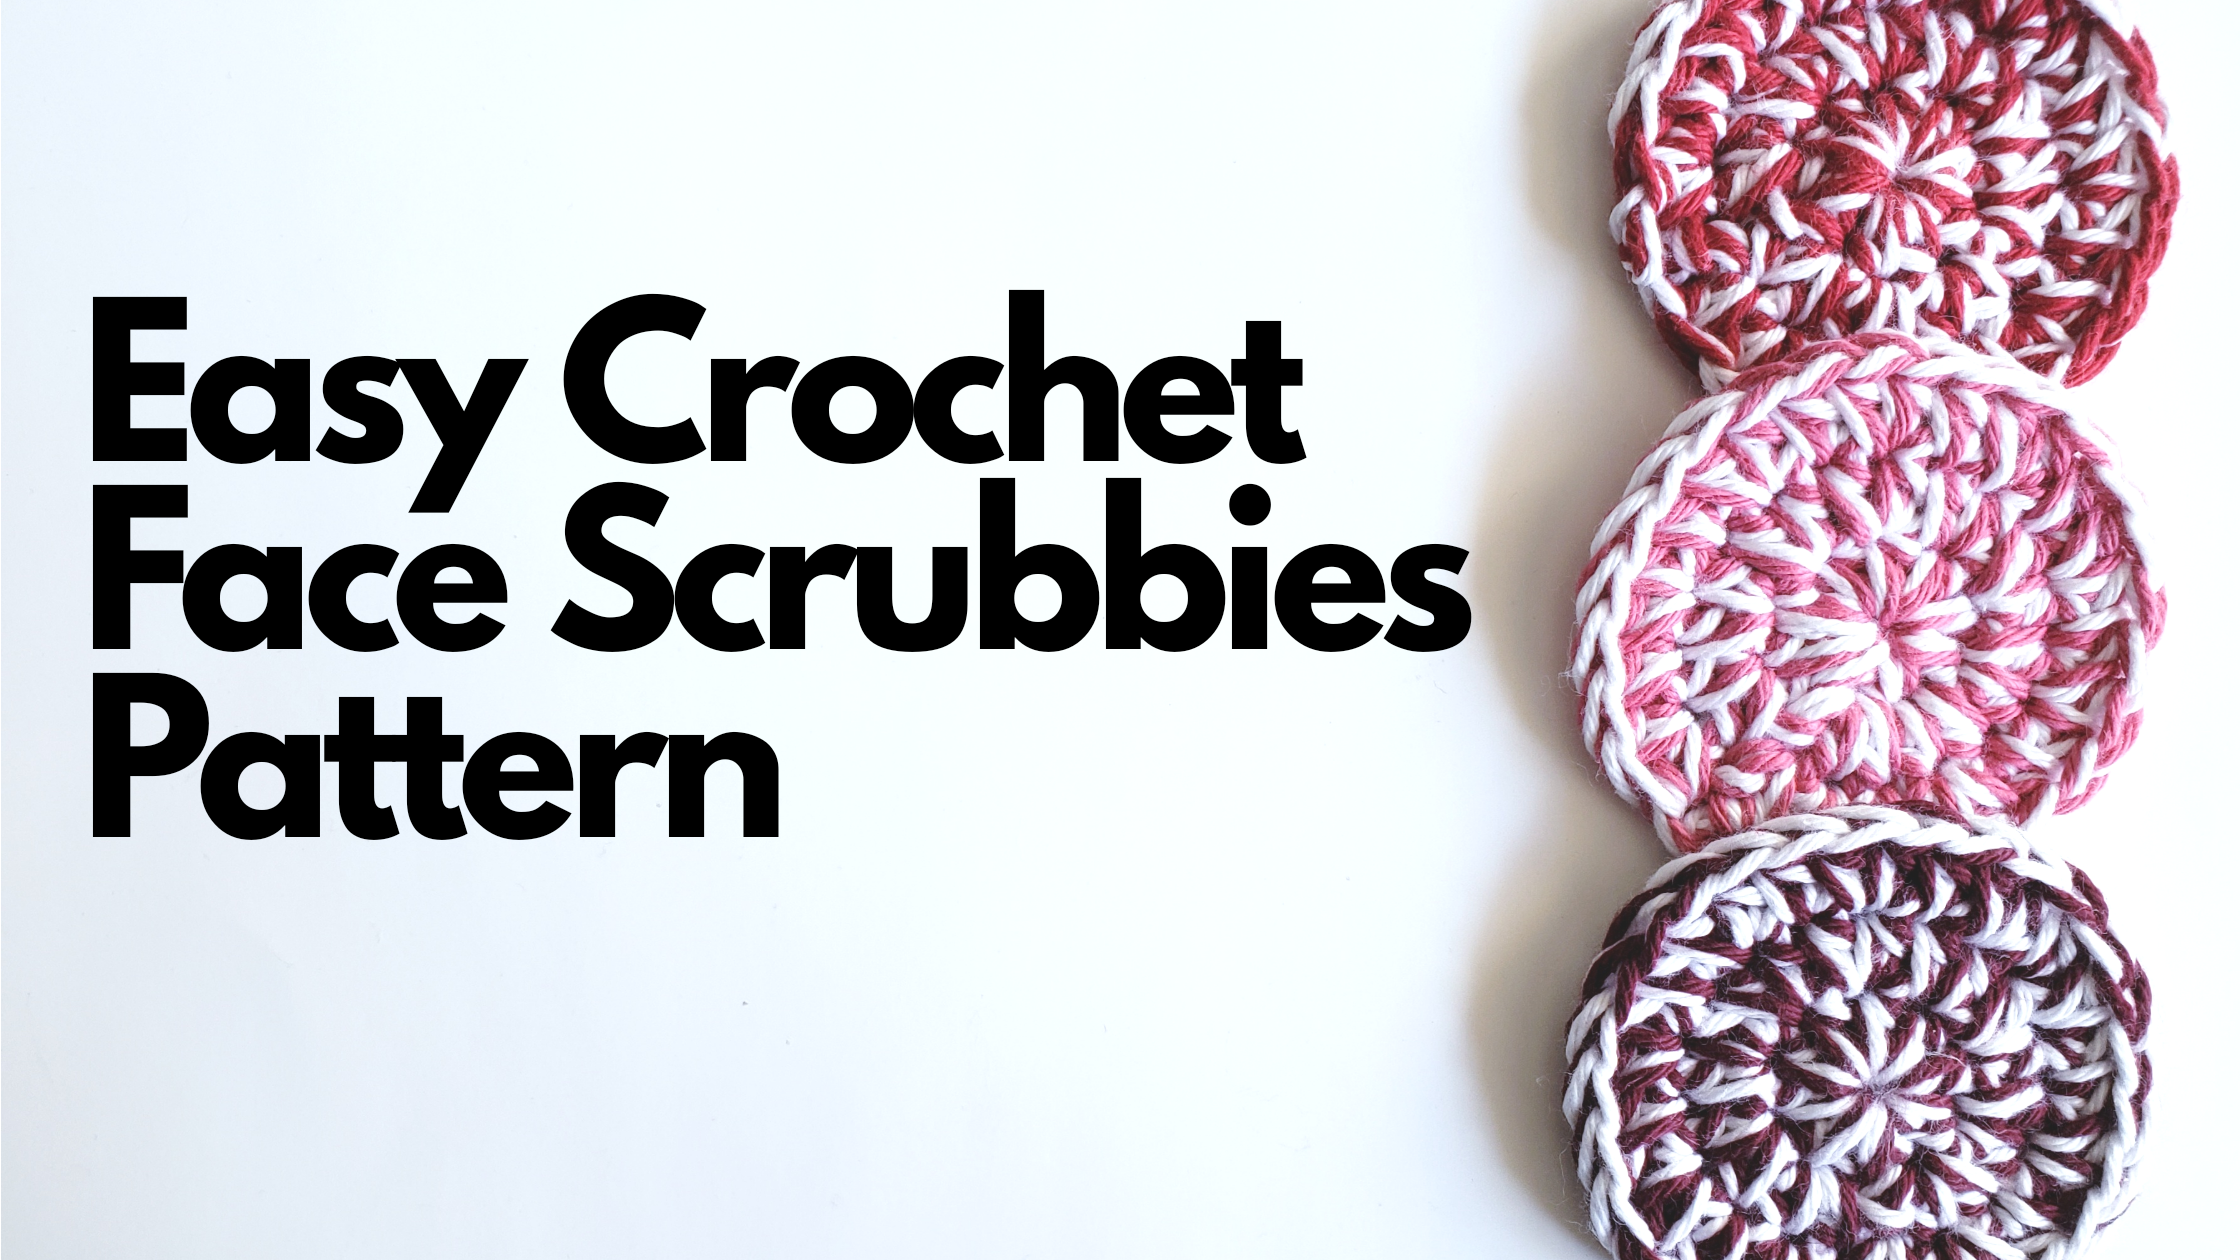
If you’re like me and love DIY projects, you’ll enjoy these crochet face scrubbies. They work up very fast. I can have one done in less than 10 minutes. And, they’re super cheap, costing around 50 cents for one. These scrubbies are also sturdier due to the two yarn design, plus it gives the scrubbies a cool two-tone look! This crochet pattern is beginner-friendly. The only stitch you’ll need to know is half double-crochet.

If you’re super brand new to crocheting, I would recommend a crochet kit. The one I have comes with a good range of hook sizes, stitch markers, and weaving needles. And, it comes in a handy bag so you won’t lose anything!

You are welcome to sell any creations you make using this project. I would appreciate credit if you do so. Since these work up fast, they’d be great for craft fairs, bath spa gifts, and to sell online. You are not allowed to sell this crochet pattern as your own. 

Let’s get started!

Reusable Crochet Face Scrubbies Pattern

Materials: 

  • 2 skeins medium weight (4) 100% cotton yarn (I used I Love This Cotton yarn in White and Rosey)*
  • I-9 hook
  • Stitch marker
  • Needle to weave ends

*Feel free to experiment with different colors. You can also make the pattern in one color; just use 2 skeins of the same color. 

Size: 

The approximate finished diameter will be 3 inches. 

Stitches: 

  • Half Double Crochet (HDC): Yarn over, insert hook into stitch, yarn over, and pull through loop. Yarn over and pull through all loops. 
  • Slip Stich (sl st): Insert hook into next stitch, yarn over, and pull through a loop. 

Notes: 

  • Chain 1 at the start of rows does not count as a stitch. 
  • Always slip stitch into the first stitch of the row, not chain 1. 
  • Working with two strands of yarn can be a little difficult if it is your first time doing so. Make sure to keep your tension loose so you can easily insert hook into stitches. Keep skeins separate to keep yarn from getting tangled as you work. Always make sure you have both colors on your hook. 

Directions: 

Foundation Row: Chain 3 and sl st into chain one. This will create a circle. 

Row 1: Chain 1 (does not count as stitch).  9 HDC into the circle. Sl st. (9 stitches)

Row 2: Chain 1. **2 HDC in same stitch**. Repeat from * to * in the next 8 stitches. Sl st. (18 stitches)

Row 3: Chain 1. **1 HDC in the same stitch. 2 HDC in next stitch**. Repeat from ** to ** 5 more times. Sl st (27 stitches)

Finish off and weave in ends. 

And that’s all there is to it! If you make this pattern, be sure to comment below and tag @Paintingsbybindi in photos! I would love to see what you create. 

– ByBindi